

Here we are going
to see how the data will be communicated from parent component to child
component using @Input() method.
@input() can be
used in two ways.
·
Two
way binding with @Input()
· ngOnChange() event and @input()
Here we gonna look
at Two way binding with @Input().
Technical
implementation:
Here we have two component
AppComponent (parent component) ChildComponent ( child component).
App component contains
Textbox, When user enters any of the data, it will be passed to Child component
and display as a span there.

app.component.ts
import { Component } from '@angular/core';
@Component({
selector: 'app-root',
templateUrl: './app.component.html',
styleUrls: ['./app.component.css']
})
export class
AppComponent {
public
inputValue:string;
}
app.component.html
<div style="border: 1px solid chocolate;
height: 250px;
width:
350px; padding: 10px 10px"
>
<span> <b>Parent component</b></span>
<br><br>
Type here : <input type="text"
[(ngModel)]='inputValue'
/>
<br><br>
<child-component [message]='inputValue'></child-component>
</div>
child-component.component.ts
import { Component, OnInit, Input } from '@angular/core';
@Component({
selector: 'child-component',
templateUrl: './child-component.component.html',
styleUrls: ['./child-component.component.css']
})
export class
ChildComponentComponent {
@Input() message:string;
constructor()
{ }
}
child-component.component.html
<div style="border:1px solid chocolate;
width:300px;
height: 120px; padding: 10px 10px">
<b> Child component</b><br><br>
you entered {{message}}
</div>
Add FormsModule in the
app.module.ts
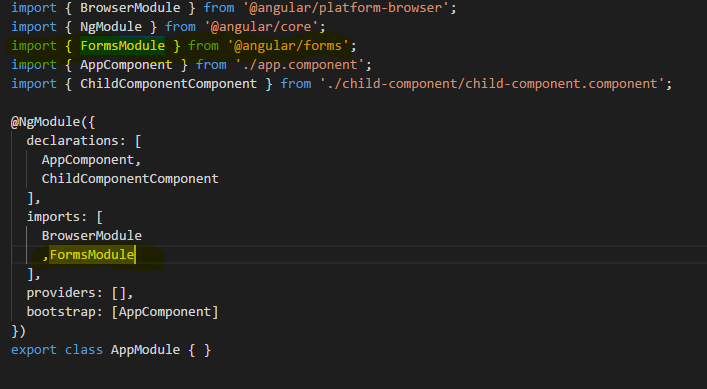
That's It !!